Technology changes with time, but the fundamentals and recipes in photography remains. This article was first published in 2011, revised in 2018
That round setting sun in the midst of fiery orange clouds sets the mood for a sunset shoot for the evening. This is the ideal case for any sunset lovers, which also made many avid photographers lined up their tripods for that moment in time.
However, most often than not, photographers are greeted with a big patch of glaring light instead of that perfect round orange sun. Some left with disappointment, some continue to shoot what they see and get terrible results (“hotspot”) on their LCD screen, until someone tried a different angle by shooting a subject against the setting sun and hey presto, what resulted is a stunning silhouette.
Yes, here we are trying to see how best we can capitalize on the situation and turn it in our favour. This also makes you feel good, especially if you have spent lots of money going to exotic places in search for that great sunset shot. You would rather return with great silhouette shots rather than disappointing bright patches of light in the sky. Getting something done is better than getting nothing done.
Last but not least, perhaps it is time that we put aside the stereotypical mindset about sunset. Must the sunset always have that orangey sky? From a light blue sky slowly turning orangey, closing to a dark blue twilight before the sun finally sets into the horizon which brings about a blanket black sky. This is the whole process of sunset!
Get a subject in silhouette
 |
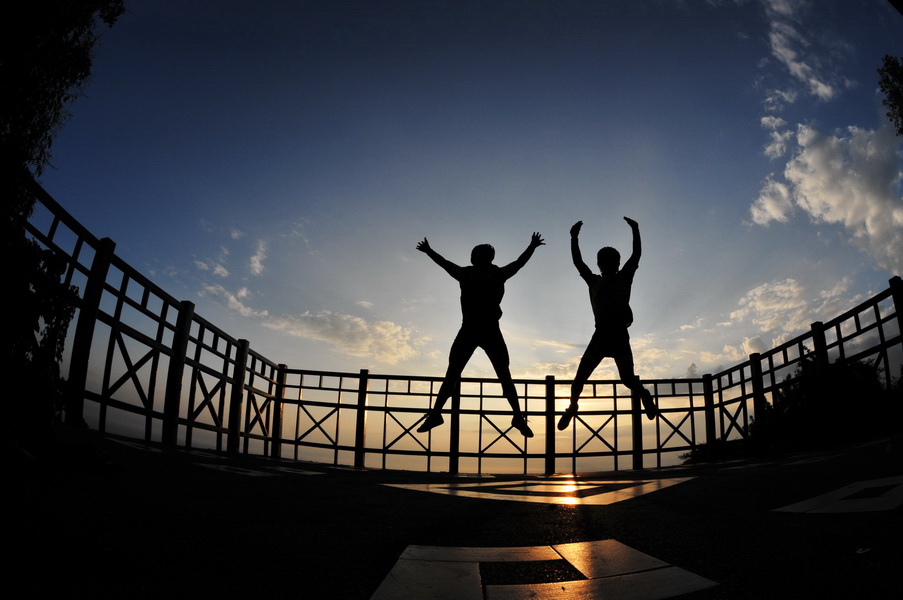 |
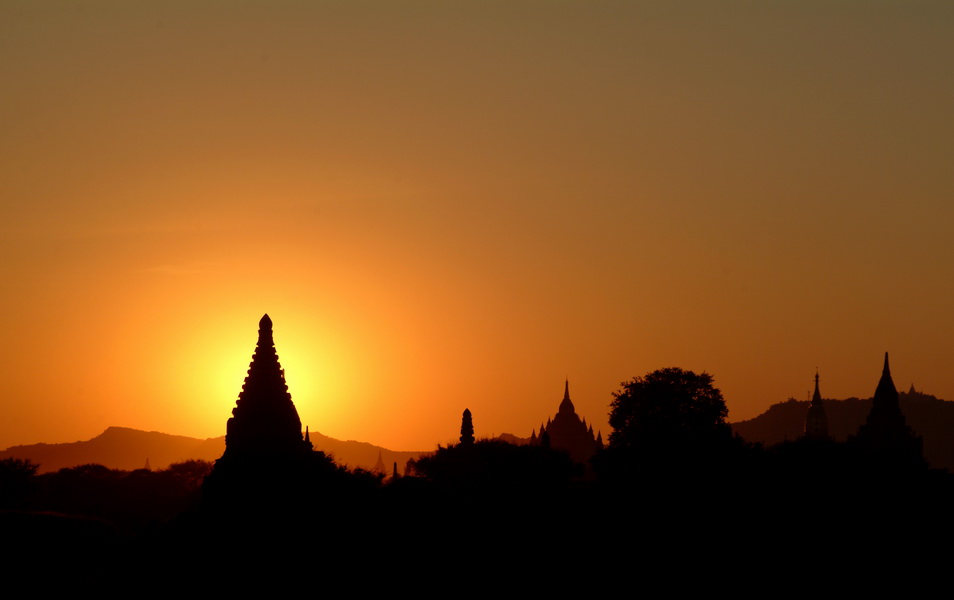
| Woke up early, rush to the sunrise spot but disappointed by the huge patch of light in the horizon? Look around you and see what you can use as a subject in silhouette, be it structures such as buildings, verandas, lamp posts and hide the patch of light behind the subject. In a more challenging scenario where you have no foreground subject suitable as a candidate for silhouette, you can consider getting your friends and photography buddies and strike a pose. How about a star jump? | |
Get the round sun
 |
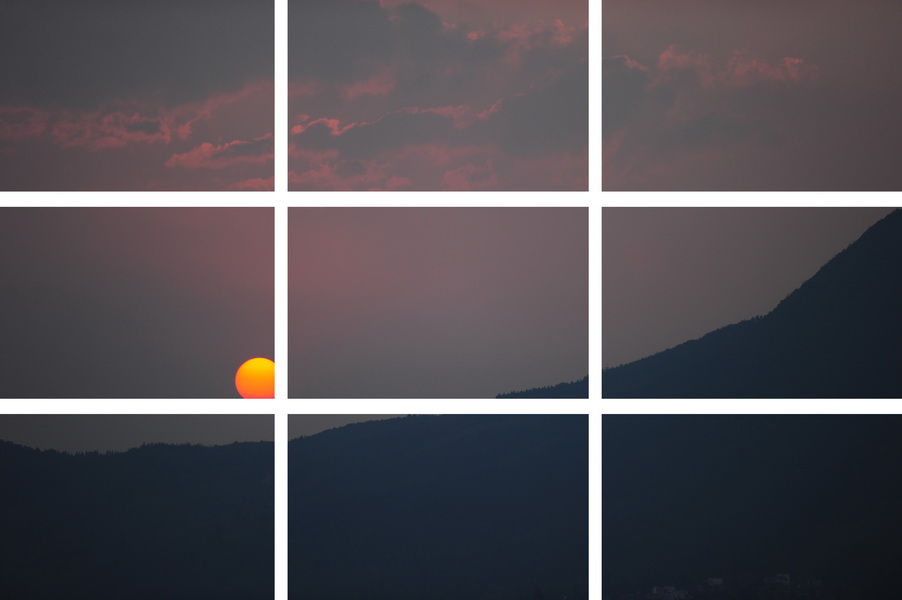 |
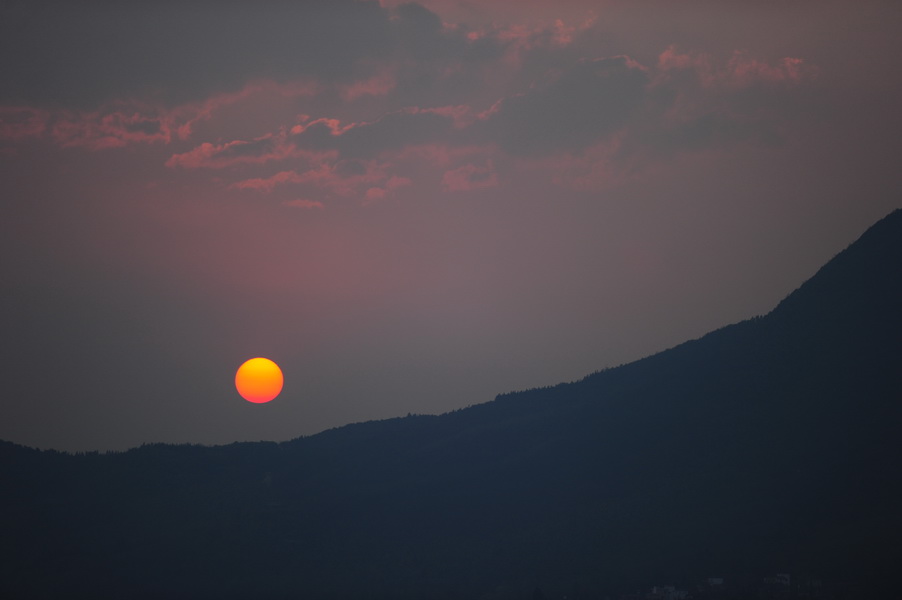
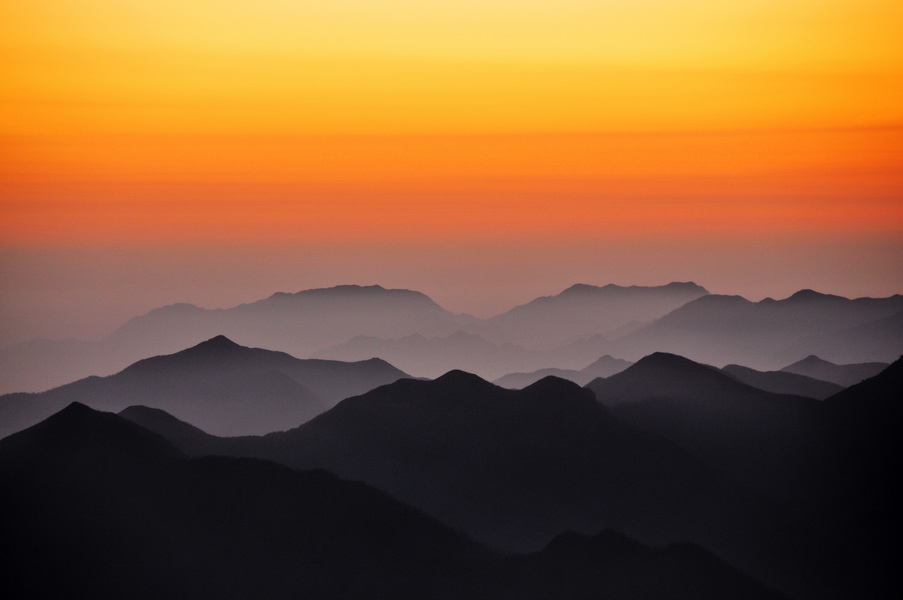
| The hike up to the peak to wait for the sunset was greeting by a round sun, much to our delight. It is fun to do sunrise and sunset shots with your photography buddies so that we can chat along the way and while waiting for the moment. We photographed happily. I compose the mountain range in the horizon to have it occupy the lower one third of the image, with two thirds of the image filled by the sky. The round sun was positioned according to the Rule of Thirds. | |
Go for the colours
Go for the Rays

Reflections on the water
Cloudy days…
With the above in mind, form your sunrise and sunset photography groups and enjoy yourselves while we look forward to seeing interesting images from you.
Technical Help (applicable to both COOLPIX and DSLR)
It is good to appreciate some pointers from basic photography fundamentals. For many beginners, some of the common problems which they might encounter while photographing sunrise and sunset include:
- Camera or subject shake due to low light condition and slow shutter speed
- Messy foreground
- No main subject
- Composition, especially placement of the horizon
- Hotspot
Low lighting condition and use of low ISO (both of which results in slower shutter speed) are the main reasons for camera shake and subject motion blur. If the subject is stationary, a good tripod will be useful in preventing camera shake. If you are shooting handheld, it is good to achieve a shutter speed of at least 1 / (focal length) of a second, which means that the more you zoom in (magnify the image) with your camera, it is advisable to increase the ISO to achieve a faster shutter speed. If a tripod is used, you can use a lower ISO to get a picture with less noise. However, as a lower ISO results in a slower shutter speed, there is a possibility of tripod shake especially if you are standing on a platform with heavy vehicles moving past behind you or if the tripod is not sturdy enough.
Another common problem faced by photographers is the lack of ideas as to what angle or composition to use. The tip is to identify a main subject. From there, you can conceptualise the composition and it will be easier to get the angle. It is good to spend some time exploring the various angles, shooting both horizontally and vertically. If the results are unsatisfactory, you can always delete the images later. As much as possible, follow the “Rule of Thirds” composition rule.
Many beginners also often overlook the distracting objects in the foreground and background which can draw the viewers’ attention away. Either move yourself to try to adopt different angles or you shift the subject (if possible) to get your desired picture.
It is not likely for you to see a round sun every day, more often than not, what you are likely to see is a white patch of light. This will result in hotspot and loss of details in the sky. Avoid photographing the white patch of light.
Another thing is the White Balance. For good colour rendition, setting the White Balance to Daylight (Sun icon) will be the ideal choice. This is very critical especially if you want good colour. As for the colour space, you may consider setting it to sRGB instead of AdobeRGB, unless you are ready for massive adjustment of colours in the Photoshop software.
Views: 3538

