Technology changes with time, but the fundamentals and recipes in photography remains. This article was first published in 2009, revised in 2018
“Single light source creates highlight and shadow on whatever it hits!” – Steven Yee
This is probably one of the most difficult topic which I am writing here; single light photography. If one searches the internet for “single light photography”, one will usually find many URL links that lead to single light studio photography using a single studio flash strobe. Single light photography creates some of the most stunning images ever. As it creates highlight and shadow on whatever it hits, it evokes a sense of mood as well as mystery in some cases.
As a photography instructor myself, I understand that not every amateur photographer owns a studio flash strobe. However, we do experience single light source in our daily life. I thought: How about single light photography using a concentrated available light source?
As we walk in the garden, a ray of light may penetrate the dense leaves of the trees and fall onto a branch to light up a single flower. The strong morning sun pierces through a small opening and lights up a small area of the fence. The window light shines onto a person’s face and brings about shadow and highlight. These are just some examples on single light sources which we can encounter in our daily life.
The next thing to talk about is how to get it done.
- In Program (P), Aperture Priority (A), Shutter Speed Priority (S) or Manual mode (M)?
- Fast or slow shutter speed?
- High or low ISO?
- Big or small aperture
These might be the questions that linger in your mind as you prepare yourself for the shot. For a start, by asking yourself is your subject static or moving? Next, whether you are shooting with or without a stable tripod in the case of photographing a static subject. Do you want a big or small depth of field? How is the lighting condition, sunny or low light? Would you prefer your image to have less noise?
For static subjects, any shutter speed will get the job done if you have a tripod. You can use a low ISO, set your exposure mode to either P,A,S,M mode, with P being the more convenient option. If the tripod is not available, use a higher ISO. The hint is that it is better to have noise than camera shake. For many beginners, the main problem would probably be camera shake due to shutter speed slower than 1/(focal length) of a second. It is strongly not advisable to use S mode set to a very fast shutter speed beyond the limitation of aperture and ISO range, as this will result in under-exposure.
In the event of a non-stationery (moving) subject, you may have to set a higher ISO and use a bigger aperture to get a shutter speed fast enough, ideally at least 1/125s, to freeze the motion.
For taking exposure reading for single light source, professionals may suggest the use of spot metering. However, using the spot metering mode may not be an easy task as many photographers find it hard to determine which the middle tone is. An easier approach is to use centre weighted metering and then under expose the image by a stop or two. Some examples are shown in some images featured in this article.
Some tips as below:
- There should be a main subject
- Appreciate how the single light source result in the subject being side lit, back lit, top lit as well as from the various angles, thus creating shadow and highlight areas
- Be careful not to overexpose and result in hotspot in the image
- To appreciate the shadow and highlight thus created by the single light source, it is advisable to switch off the Active D-Lighting/Light Optimizer
- You are likely to do some exposure compensation on the negative side (Minus EV Value, that +/- button on your camera)
With the above tips in mind as well as the case studies below, enjoy yourself in exploring single light photography.
Footnote: Exposure Modes
- P mode – Program Mode
- A mode – Aperture Priority Mode
- S mode – Shutter Speed Priority Mode
- M mode – Manual Mode
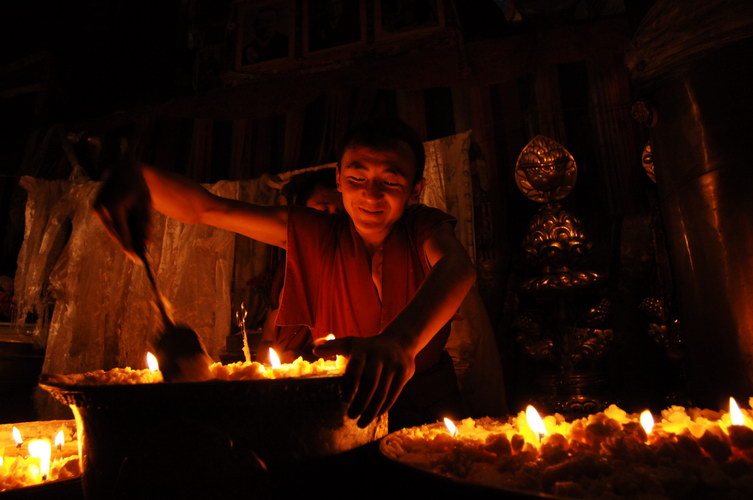
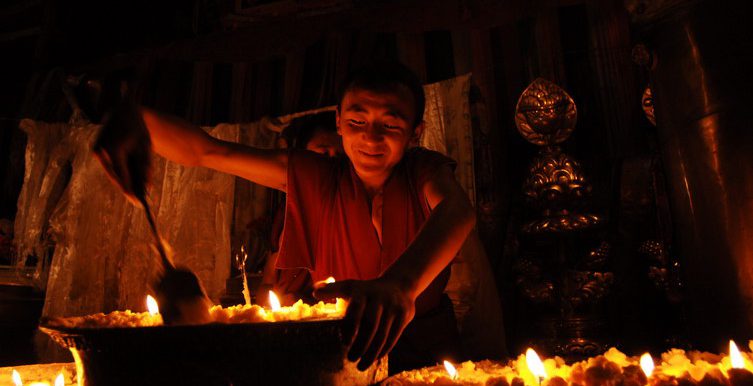
Centre Weighted metering, Daylight White Balance, ISO640, Manual Mode, Shutter speed 1/30s, Aperture f2.8, 14mm, EV -1.0
Despite the price, the 14mm f2.8 lens is one of my favourite lens for low light photography in very small confined areas. This lens is a worthwhile investment with minimal distortion at the edges. The exposure value (EV) was set to minus one while using the centre weighted metering. Another option is to use spot metering and spot on the middle tone (the face). The candles light provide a warm glow on the monk’s face.
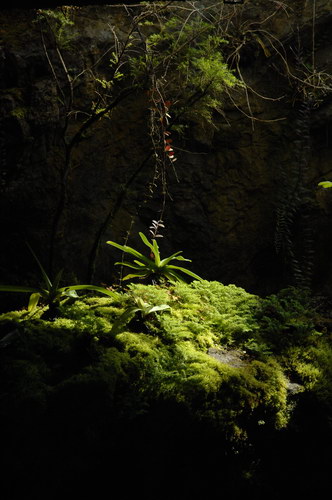
Centre weighted metering, Daylight White Balance, ISO500, Aperture Priority Mode, Shutter speed 1/400s, Aperture f5.3, 18-200mm
Shot in the Botanic Garden, the single light from the top lit up a small area of this rock which is filled with some plants. The image enhancement software was used to add more contrast and saturation to the image. Do try to observe your surrounding. It is not hard to find such a lighting situation.
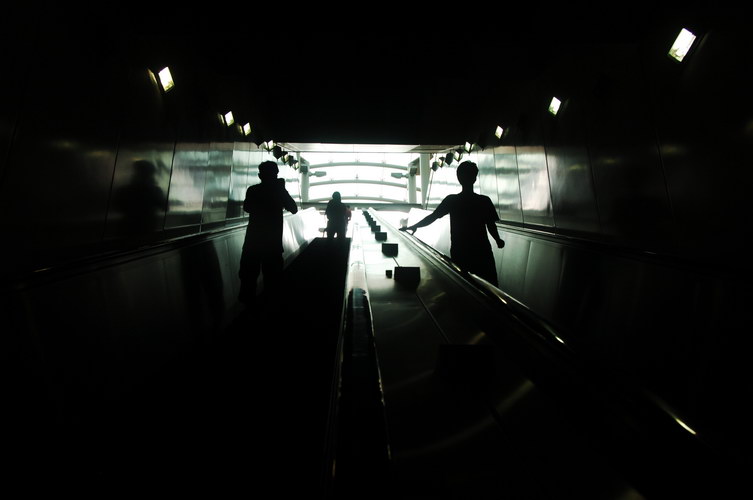
Centre weighted metering, Daylight White Balance, ISO500, Program Mode, Shutter speed 1/250s, Aperture f7.6, 18-200mm
Shot from the escalator of a MRT station, the light at the end of the escalator creates this silhouette image of the people. A relatively high ISO is needed in order to achieve a faster shutter speed to freeze the motion, as the subjects are moving.
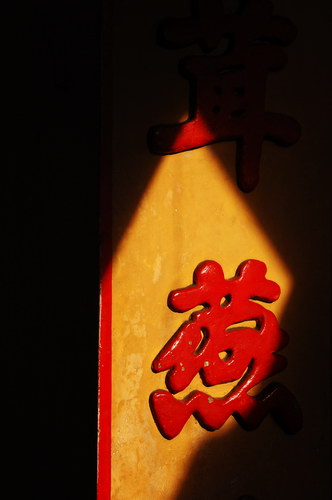
Matrix metering, Daylight White Balance, ISO400, Program Mode, Shutter speed 1/400s, Aperture f10, 18-200mm
I was walking along a street in Chinatown on a sunny morning. It was early in the day and the lighting was good with the warm glow. There was this pillar with the Chinese character lit by the light. I was attracted by the colour and the warm lighting. As there was a built structure next to the pillar, only part of the pillar was lit as the structure blocked off much of the light.
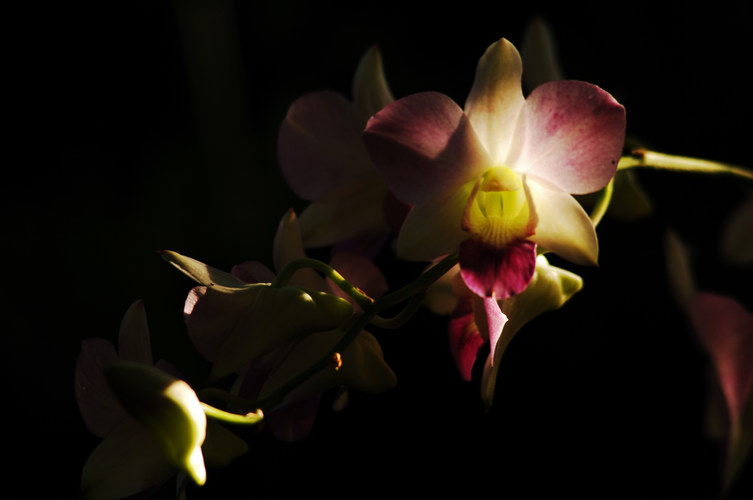
Centre Weighted metering, Daylight White Balance, ISO250, Program Mode, Shutter speed 1/160s, Aperture f6.3, 18-200mm EV -0.7
The strong morning light cuts through the openings of the bushes and lit up this orchid. The shadow and highlight thus created presented this image with a sense of mystery and mood. The image was shot with EV (exposure value) minus 0.7 to underexpose the image slightly and darken the background.
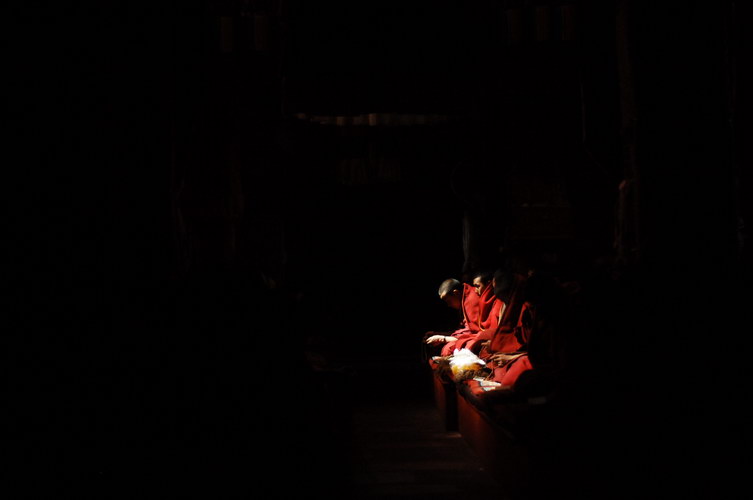
Centre Weighted metering, Daylight White Balance, ISO800, Aperture Priority Mode, Shutter speed 1/160s, Aperture f1.8, 50mm, EV -2.3
The sun light entering this monastery through a small opening in the roof lit up the monks in prayers. I can choose either the spot metering or the centre weighted metering. If the centre weighted metering was used, I have to minus the exposure compensation so that there will be no hotspot due to over exposure. As the background was dark, the camera can be tricked into providing a slower shutter speed which is not necessary. To achieve the above effect, the active D-lighting/Light Optimizer must be switched off if your DSLR has this feature.
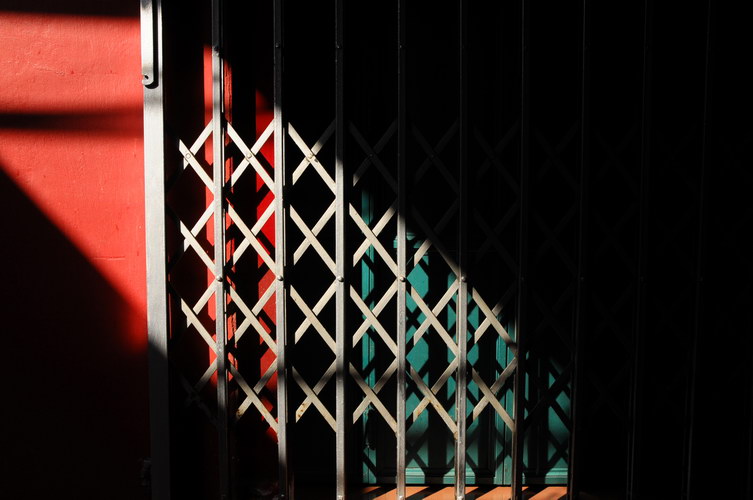
Centre Weighted metering, Daylight White Balance, ISO400, Program Mode, Shutter speed 1/320s, Aperture f9, 18-200mm
The strong light that cuts through an opening of a curtain lit up part of the metal grills. What interested me further was the red wall that added colour to an otherwise dull grey metal grills.
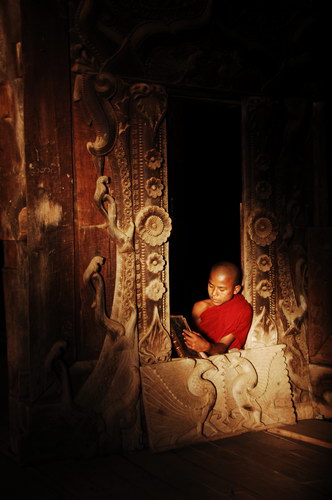
Centre Weighted metering, Daylight White Balance, ISO200, Aperture Priority Mode, Shutter speed 1/180s, Aperture f4.2, 18-200mm, EV -1.0
A posed and staged image where we asked the monk to read a book. We positioned the monk in the area which was lit by the sunlight. Thus, the monk became our main subject and added some story content to the image. The image was under exposed to avoid hotspot on the monk’s forehead.
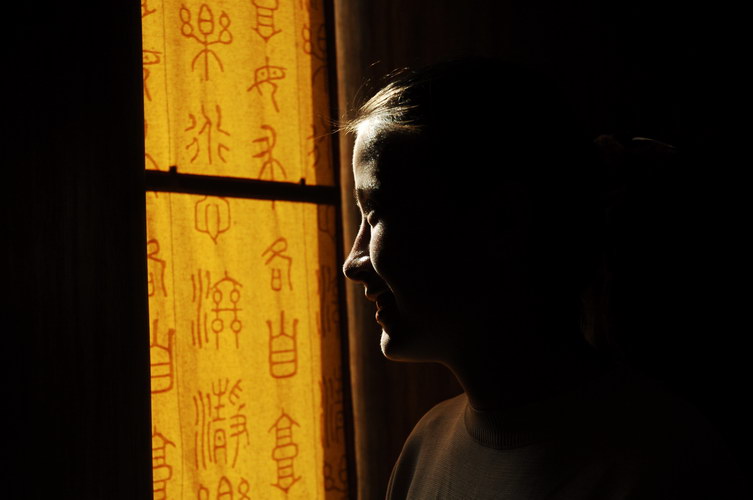
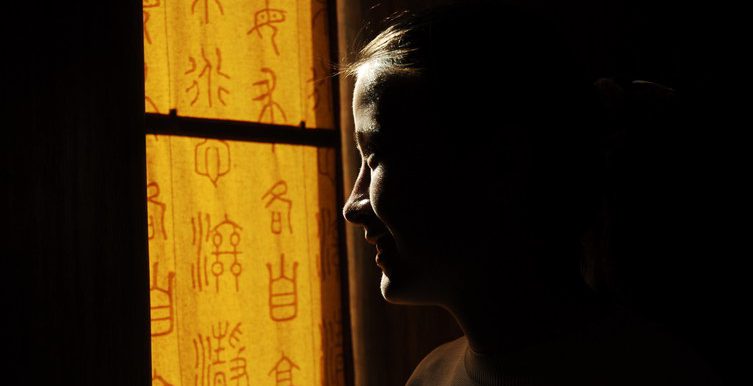
Centre Weighted metering, Daylight White Balance, ISO320, Aperture Priority Mode, Shutter speed 1/640s, Aperture f5, 18-200mm, EV -0.3
Our tour guide in our Xinjiang trip, we asked her to stand by the window. The lighting created areas of shadow and highlight on her face. What made the image more interesting are the characters on the curtain. The image was under exposed to avoid hotspot on her face.
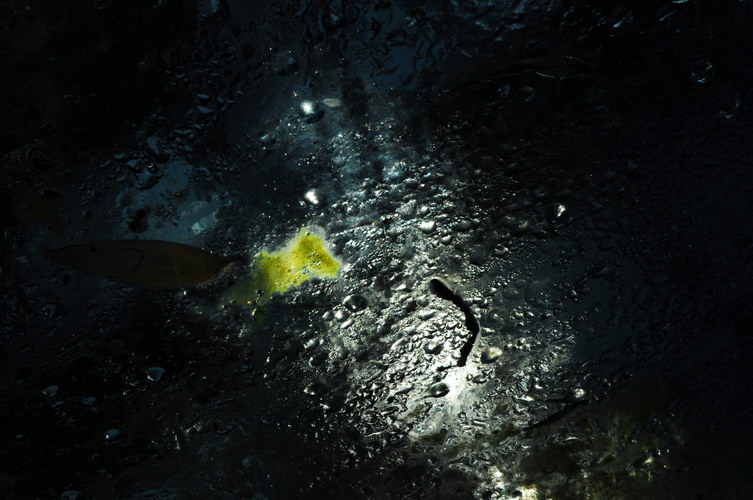
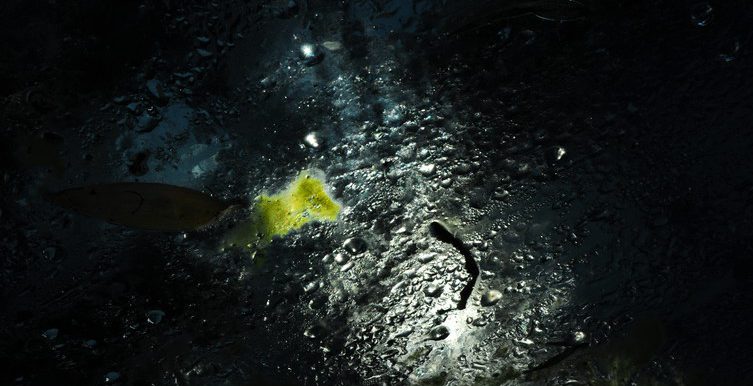
Centre Weighted metering, Daylight White Balance, ISO400, Program Mode, Shutter speed 1/500s, Aperture f11, 18-200mm
A concentrated light shone at a spot on the glass, revealing the droplets of water as well as the leaves. This forms an interesting abstract image.
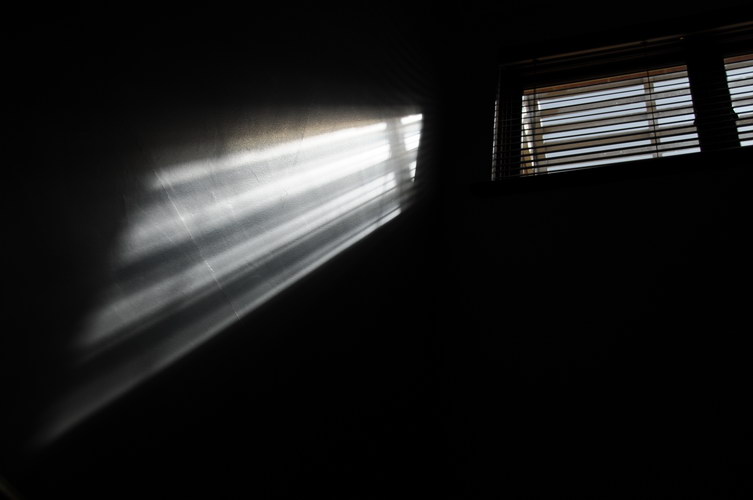
Centre Weighted metering, Daylight White Balance, ISO320, Aperture Priority Mode, Shutter speed 1/2500s, Aperture f4, 18-200mm
Shot from a staircase, the light shines in from the window. The shadow cast by the window grills created interesting lines on the wall.
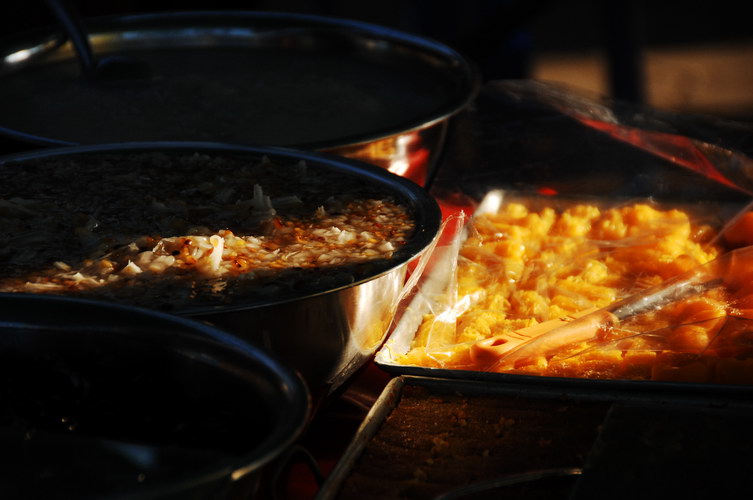
Matrix metering, Daylight White Balance, ISO500, Aperture Priority Mode, Shutter speed 1/1250s, Aperture f5.6, 18-200mm
The light shone at a particular spot where the dishes were laid out. This helped to “feature” certain dishes to isolate them from the rest.
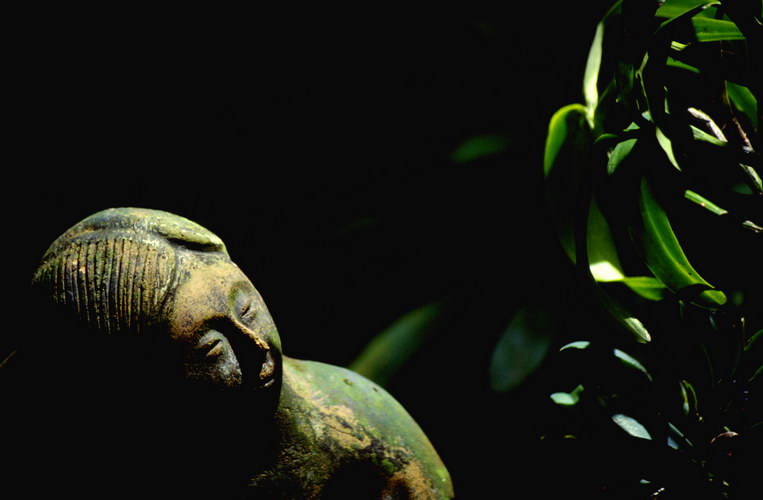
Centre Weighted metering, film scanned into digital format, ISO200, Program Mode, Shutter speed 1/60s, Aperture f4.5, 28-105mm
The shadow and highlight thus created by the light added mood to this image. On the right side of the statue’s face, the triangular lit area is what we call the classical “Rembrandt lighting”. This is often executed in portraiture photography. I actually shifted the statue to get this lighting effect.
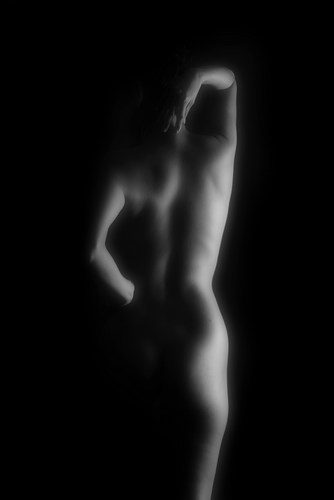
Centre Weighted metering, Daylight White Balance, ISO200, Manual Mode, Shutter speed 1/125s, Aperture f11, 18-200mm
Shot in the studio, the single light from the side revealed the model’s body contours through the shadow and highlight. The image enhancement software was used to soften the image to give it a dreamy feel.
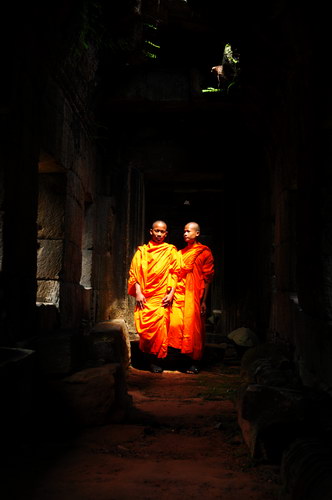
Matrix metering, Daylight White Balance, ISO250, Aperture Priority Mode, Shutter speed 1/80s, Aperture f5, 18-200mm, EV -1.0
The light from the top lit up the two monks in a temple in Siem Reap, Cambodia. I waited for them to walk into the lit up area and shot many images. The exposure value was put to minus one to underexpose the image to give it more saturation and avoid hotspot on the monks’ head.
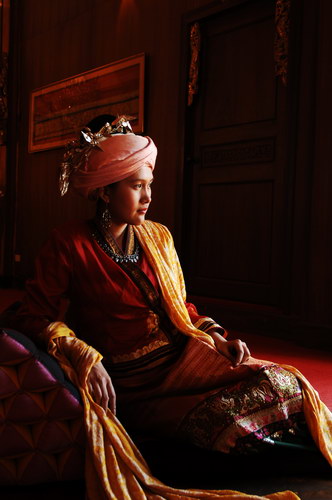
Centre Weighted metering, Daylight White Balance, ISO250, Aperture Priority Mode, Shutter speed 1/10s, Aperture f4.5, 18-200mm, EV -1.0
The light from the door provided a subtle side lighting which revealed the contours of the model’s face through the shadow and highlight. The image was under exposed to darken the image to avoid hot spot, especially on the model’s forehead.
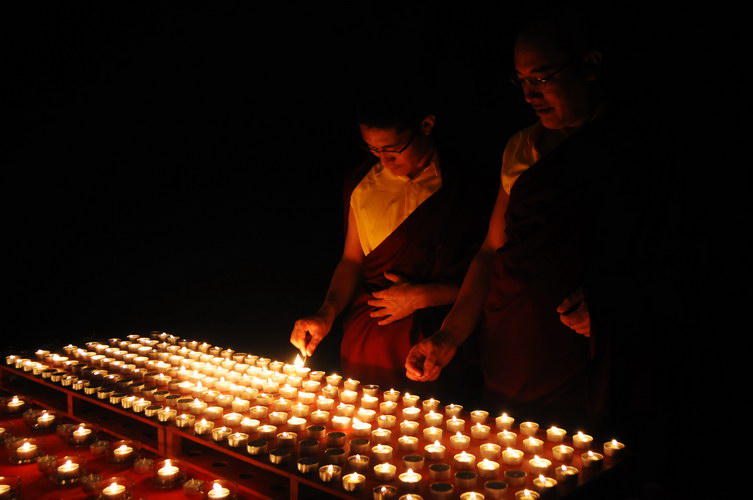
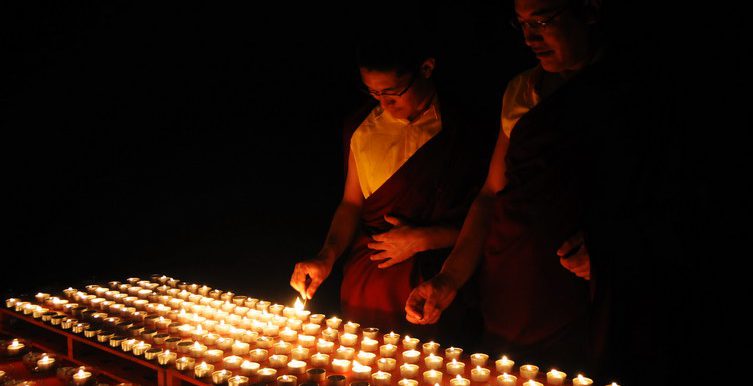
Spot metering, Auto White Balance, ISO800, Manual Mode, Shutter speed 1/25s, Aperture f3.8, 18-200mm
The numerous candles form a huge single light source which shone on the monk’s faces. A tripod was used and as the monks were not moving much, we were lucky not to have any motion blur. Spot metering was used, reading was based on the yellow robe of the monk.
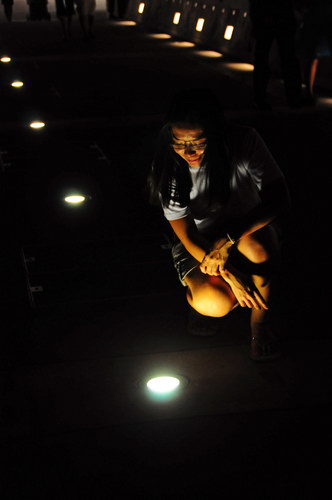
Centre Weighted metering, Auto White Balance, ISO1000, Program Mode, Shutter speed 1/10s, Aperture f4.8, 18-200mm, EV -0.7
The spotlight on the floor shone on the model’s face. I had to ensure that her face was not covered by her hair as it was very windy then. The image was under exposed to avoid hotspots. A high ISO was used as the image was shot without a tripod. The Anti-Shake feature helped to minimize camera shake even though a slow shutter speed was used.
