Technology changes with time, but the fundamentals and recipes in photography remains. This article was first published in 2011, revised in 2018
Green is one of the additive primary colours created from a mixture of yellow and blue. In Old English term, green is closely related to the verb “Growen” meaning “to grow”. Green is also associated with nature, love and lust, death, decay, evil, prosperity etc. Everywhere on earth, we can see green, including the ocean water which appears greenish.
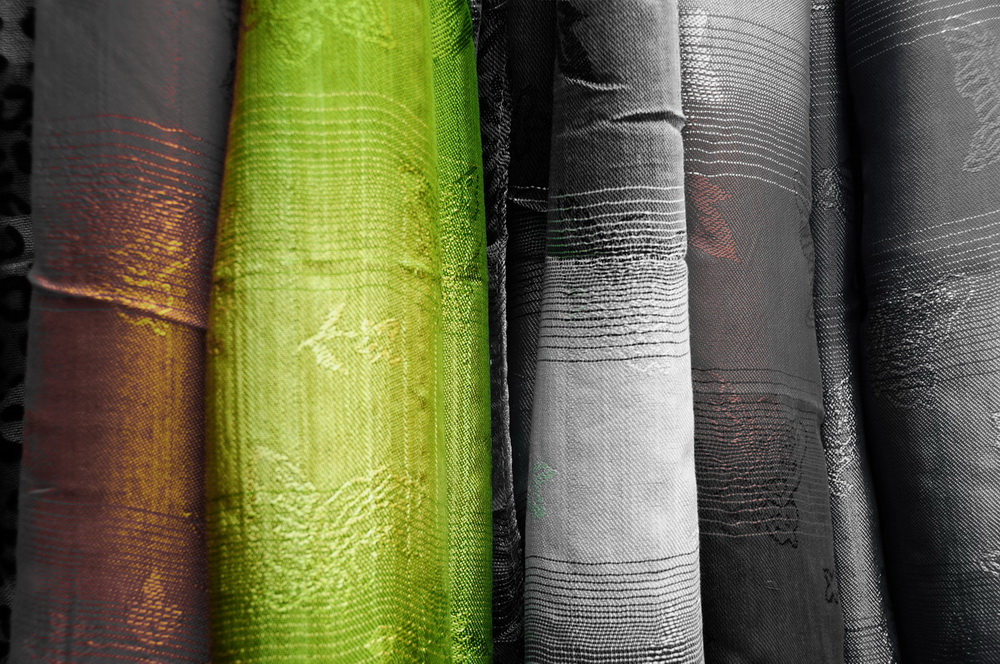
This time round, we shall talk about subjects that are green. This may sound easy, but a walk along the streets of Chinatown searching for subjects that are green somewhat appears to be a daunting task. Let’s make this a photography project in which you shall explore your favourite places, your neighbourhood, and search for subjects that are green. It could be a signboard, a plant, a souvenir….but let’s move away from macro close-ups for once. Look for things that are green in colour.
Below are some tips which you may find useful. Let’s get started, take out your DSLR/Mirrorless camera or handphone camera, look around you in your neighbourhood or favourite places or during your family outings in the weekend, and enjoy a world of “green” photography. Probably while waiting for the dishes to be served in your family outing, you can catch a few shots on your dining table.





Take Note
 |
 |
| Learn to isolate subjects from the surrounding, and decide which angle to approach to make the subject stands out. For the above, I walked past a jewellery shop where many chains of interesting crystals of all colours were left suspended. I am very sure there are green crystals. I explored the many chains of crystals and chose a few chains with huge green crystal beads. Perhaps a contrast in the colours will make the green crystal beads stand out better. I rearranged the beads and here we go, a close-up shot of the green crystal beads. | |
 |
 |
| Leaves back lit by the sunlight often results in a nice green glow on the leaf surface. However, try to choose a clean and uniform background which is not so distracting. The green background complements better with the glowing leaf (right) as compared with the sky as the background (left). | |
 |
 |
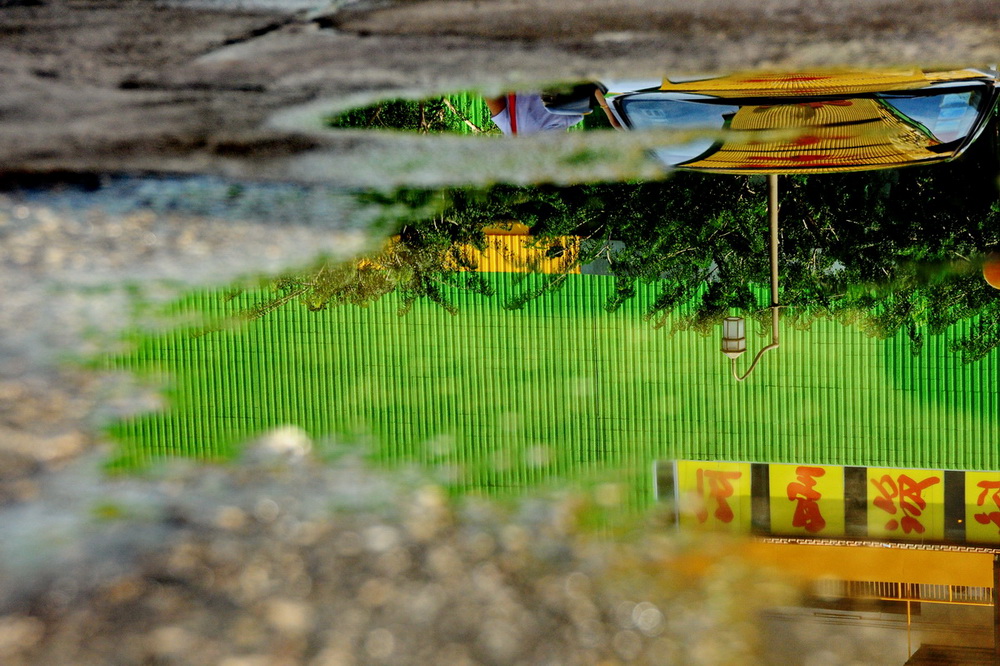
| The taxi signage is an interesting subject and I asked my friend to use their fingers to create a framing effect. I play with the depth of field for both pictures, using big and small aperture, to create different visual effect. You can experiment with different design elements such as framing, reflection, patterns, perspective etc to help you get more ideas on how to photograph the image. Enjoy yourselves. |
|
Technical Help
It is good to appreciate some pointers from basic photography fundamentals. For many beginners, some of the common problems which they might encounter include:
- Camera or subject shake due to low light condition and slow shutter speed
- Messy background
- Unsure of which angle to adopt
Low lighting condition and use of low ISO (both of which results in slower shutter speed) are the main culprit for camera shake and subject motion blur. If the subject is stationary, a good tripod will be useful in preventing camera shake. If you are shooting handheld, it is good to achieve a shutter speed of at least 1 / (focal length) of a second, which means that the more you zoom in (magnify the image) with your camera, it is advisable to increase the ISO to achieve a faster shutter speed. If a tripod is used, you can use a lower ISO to get a picture with less noise. However, since a slower shutter speed comes with a lower ISO, beware of tripod shake especially if you are standing on a platform with heavy vehicles moving past behind you.
If the subject is moving, a higher ISO is desirable to achieve a faster shutter speed to freeze the motion. With today’s superb technology in the Nikon system, we can achieve low level of noise in higher ISO, hence one can start the day with ISO 400 and if need be, increase the ISO should one encounter a slow shutter speed or wanting a faster shutter speed to freeze the action.
Another common problem faced by photographers is the lack of ideas as to what angle or composition to use. The tip is to identify a main subject. From there, you can conceptualise the composition and it will be easier to get the angle. It is good to spend some time exploring the various angles, shooting both horizontally and vertically. If the results are unsatisfactory, you can always delete the images later. As much as possible, follow the “Rule of Thirds” composition rule.
Many beginners also often overlook the distracting objects in the foreground and background which can draw the viewers’ attention away. Either move yourself to try to adopt different angles or you shift the subject (if possible) to get your desired picture.
Views: 3748

